Get Easter Ready - DIY Decorations
Get Easter Ready - DIY Decorations
With the Easter holidays just around the corner we thought we’d share these simple DIY decorations you can make at home with the whole family, to get your home looking eggstraordinary this Easter!
Egg blowing
Egg blowing is an easy way to preserve egg shells so you can use them as décor again and again – just be careful when storing them, as they’re very fragile of course.
You will need:
- a clean bowl
- a needle, pin, tiny nail or thumbtack
- a toothpick or straightened out paperclip
- uncooked eggs
- scotch tape, masking tape or blue painter’s tape
- towels
- soap and water
Step 1:
Put a small square of stickytape over both ends of an egg and take a needle or pin and poke a hole into the top end of the egg, through the tape. Wiggle the pin around a bit to make the hole just a little bit wider and to help break up the yolk inside the egg.
Holding the egg over a bowl, poke a second hole in the other end of the egg. Make the hole on the bottom end of the egg a little bigger than the hole on top (this is the hole all the insides will come out of).
Step 2:
Take the egg gently between your first finger and thumb, covering both holes, and shake it thoroughly. This will scramble the insides and make them liquid enough to pour out through the bottom hole.
Step 3:
Hold the egg over the bowl again, and blow through the smaller hole at the top of the egg. Make sure you get a good seal around the hole with your mouth so all the air is going into the egg. This part can be tricky but if it’s not working, try shaking the egg a bit more, or making the hole at the bottom slightly bigger. Keep blowing until the egg is completely empty.
Step 4:
Rinse the egg in warm soapy water, making sure you wash the inside of the shell too. Set it aside to dry, making sure the bottom is pointing down so the water can drip out. When it’s dry you can get busy decorating.
Here are some ideas for decorating your eggs:
Egg chicks
Cut coloured tissue paper into strips and squares, and brush with PVA glue. Wrap three to four layers around each egg. Next cut beaks, combs and wattles out of funky foam, felt or card and glue onto the eggs. Finally, glue on googly eyes and feathers to complete your bright, colourful and cheerful chicks.
Dye with food colouring
In a jar or bowl, mix a teaspoon of food colouring of your choice with a tablespoon of vinegar and enough warm water to cover the egg. Lower the egg into the dye carefully and use a spoon to hold the egg underwater for at least 5 minutes. Add more dye and dip them longer for a deeper egg colour.
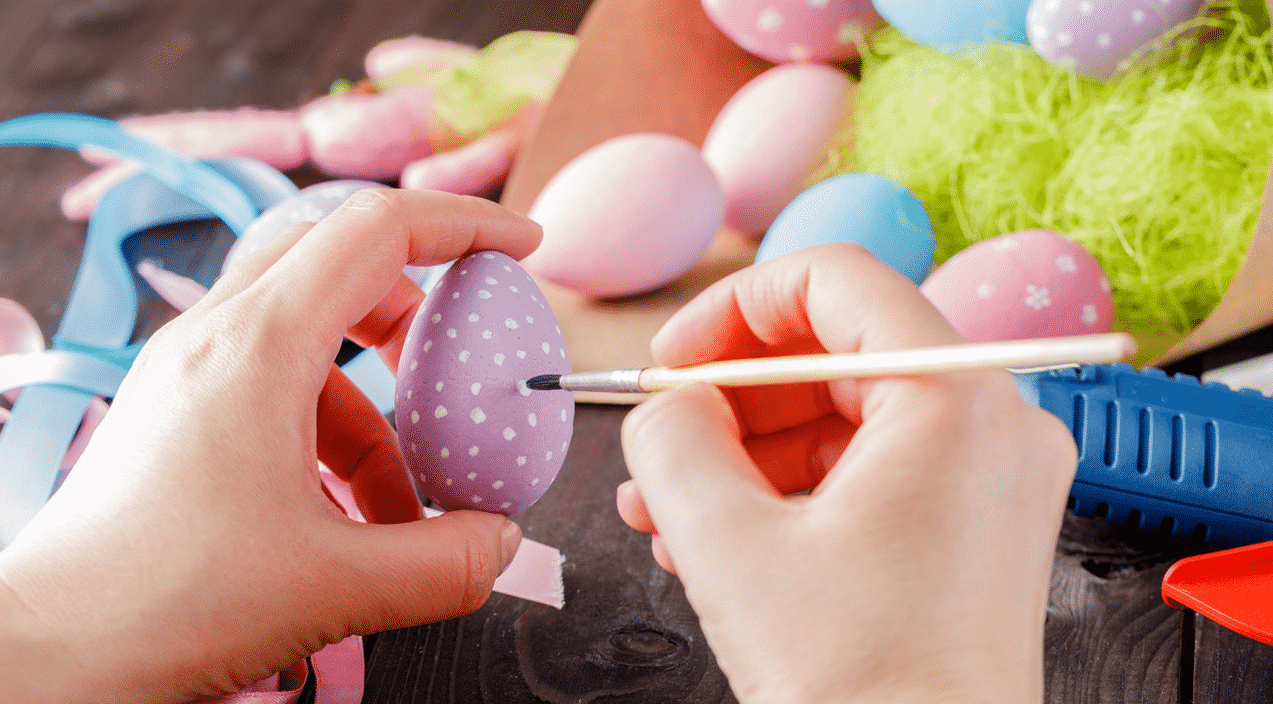
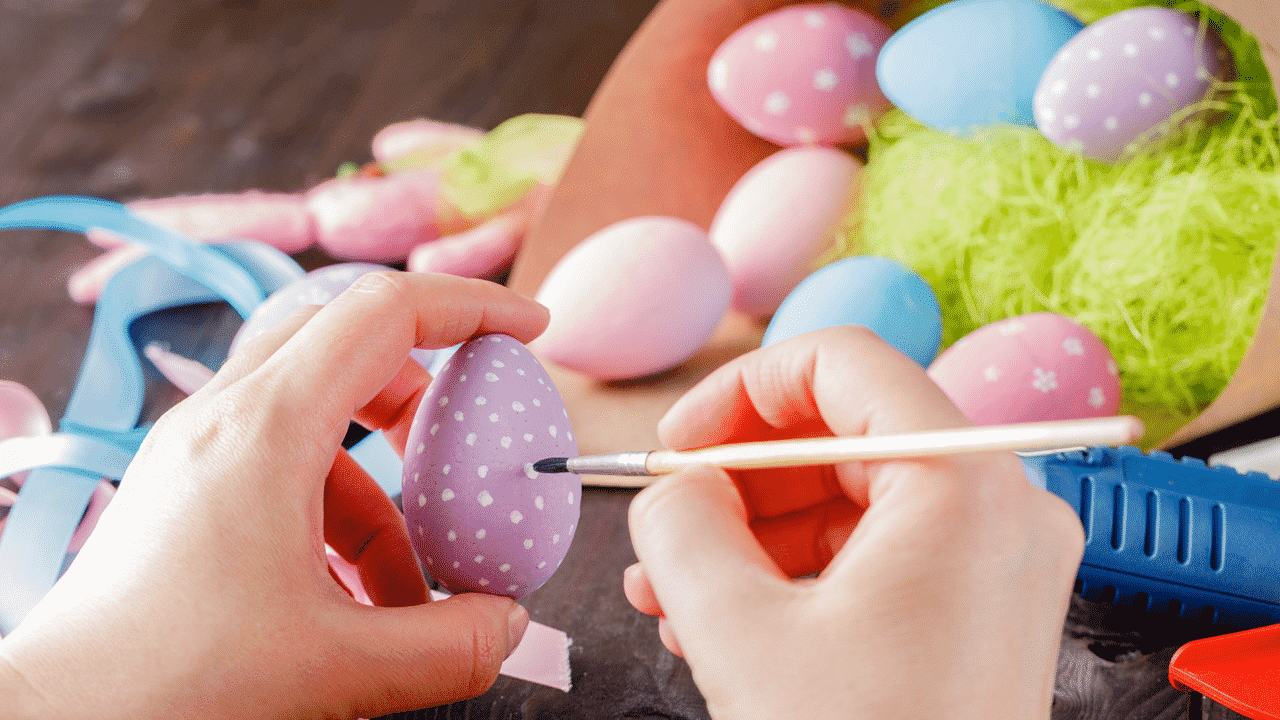
Painting
Secure your egg in an egg cup or egg carton, with most of the shell visible for painting. if you have an intricate design in mind, sketch this onto the dry egg shell in pencil first – but be careful not to press too hard! Fill in your design with acrylic paint, and remember to let the paint dry before you turn it over to paint the bottom of the egg.
Now you have some masterpieces in your home ready for Easter, it’s time to tidy up. Like with all crafty activities, accidents and spills can happen, especially when working with glue, paint and dye. If you’ve spilt anything on your carpets during all this fun, don’t despair, we won’t leave you armed without a few do-it-yourself stain removal solutions.
Drytron are the carpet cleaning experts! Drytron can help you maintain the quality and comfort of your carpets, saving you money in the long run. Give our friendly team a call.
Book Online or Call: 13 12 50
Do’s and don’ts for rug positioning
Do’s and don’ts for rug positioning
Rugs are a great alternative to carpets, as not only are they easy to move, clean and replace when you feel like a change, they also make a great statement in a room, if positioned correctly. But when it comes to using rugs in your home, there are some important things to consider in order to get the right balance in your space. So, before heading to the shops, check out our top tips for rugs and you’ll soon be adding some personality, style and warmth to your home.
Cover Heavy Foot Traffic Areas
Rugs in areas prone to heavy foot traffic, such as hallways and lounge rooms, should be extend close to the full width, so people don’t have to walk with one foot on the rug and the other off it. Not only does an ill-fitting rug make walking awkward and uncomfortable, it can lead to unusual wear patterns on your rug and flooring.
Keep Equal Space Around Your Bed
When positioning a rug under your bed, try to place it directly in the centre so the edges extend evenly out from the bed frame. If it’s lop-sided, it can make the whole room appear unbalanced.
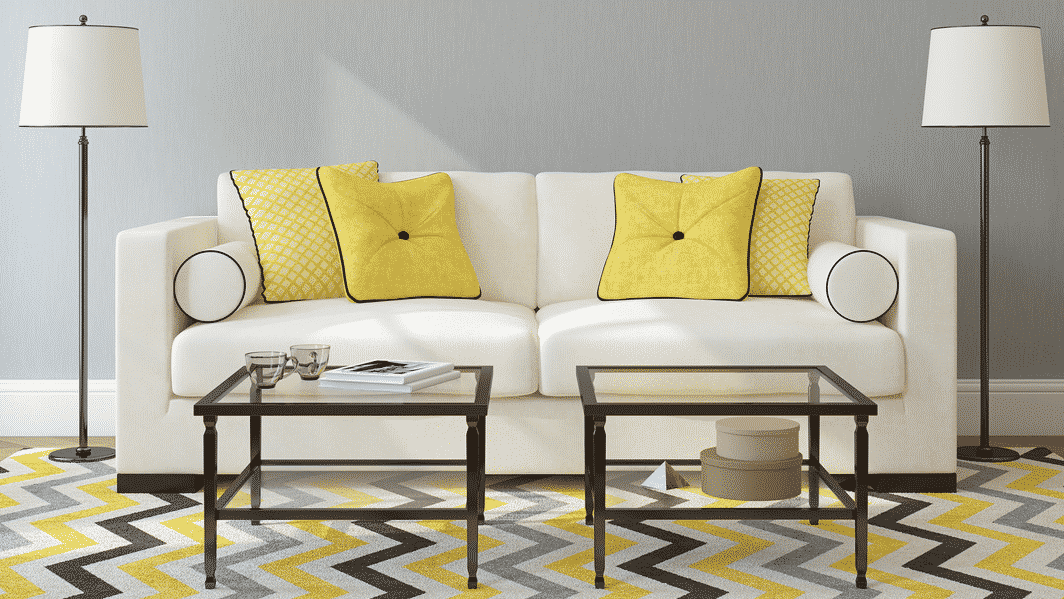
Place Rugs Underneath Furniture
In a large open lounge room your rug should sit under at least the front legs of the sofas – or if you have a large rug, completely under them. If you have armchairs in the space as well, their front legs should be just on the rug too. This creates a cosy atmosphere and cohesive sitting area, without closing it off from the rest of the room.
In a small lounge room, rugs should sit in front of the sofa, so there’s a narrow strip of floor showing. This makes the room appear lighter and more spacious. Meanwhile, In a dining room, rugs should be large enough for both the chairs and the table to all be placed on top. Make sure the chairs remain on the rug even when they are pulled out from underneath the table.
Don’t Place Your Best Rugs in The Spill Zone
Having said this, it’s best to avoid placing expensive rugs in the dining area, where there are likely to be spills and accidents. Even though they’re easier to clean than carpets, it can still be difficult to remove certain stains from rugs. If this does happen, you can always try using our spills and stain cleaning guide, and if those don’t work you can give us a call and get the professionals in.
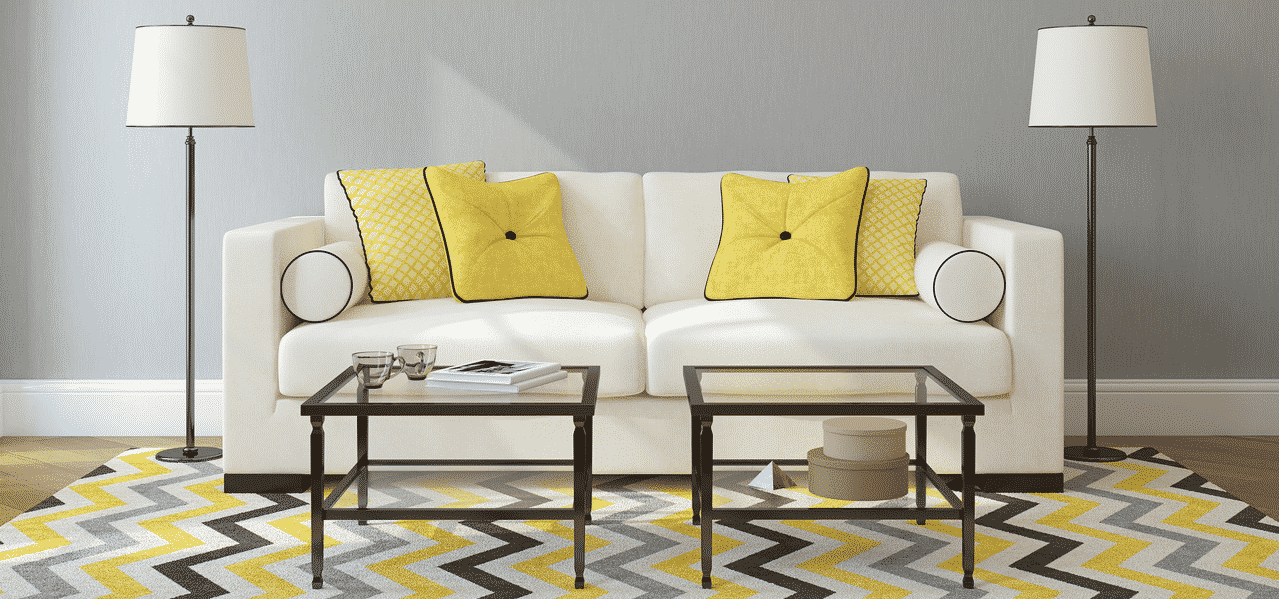
Don’t Hide Your Rug
If you have a small rug in your lounge room try using a couple of side tables instead of a large coffee table, to show off more of your feature rug.
Don’t Forget to Purchase a Rug Pad
Rugs can provide comfort for your feet and back, however without a rug pad, that comfort may be lacking. Placing a rug pad under your rug will add additional support, prevent slipping and extend the life of your rug. Without one, your rug is free to bunch up, move, and slide around on your floors.
So now you know where and how to position the rugs in your home, it’s time to head to the shops and start shopping! But with so many designs, styles and makes to choose from that can be even more tricky. If you’re struggling to decide, check out tips for picking the perfect rug.
Once you have placed your rug and added some warmth to your home, it’s time to enjoy it. Contact the expert carpet cleaners at Drytron on 13 12 50 or Book Online when you need rug cleaning in your home.